


NetSuite
Oracle NetSuite is a full ERP. Connecting it gives Eagl your general ledger and the context around it.
What syncs in
Section titled “What syncs in”- GL accounts and your chart of accounts
- Transactions and posting detail
- Cost centers and projects
- Documents attached in NetSuite
This powers reporting, drill-down, and serves as a reconciliation source.
Before you start
Section titled “Before you start”NetSuite uses token-based authentication (TBA). Connecting is a one-time setup in NetSuite that produces four credentials you’ll paste into Eagl:
- Account ID
- Consumer Key and Consumer Secret
- Token ID and Token Secret
You’ll need the Administrator role in NetSuite to complete the steps below.
Set up your Eagl account
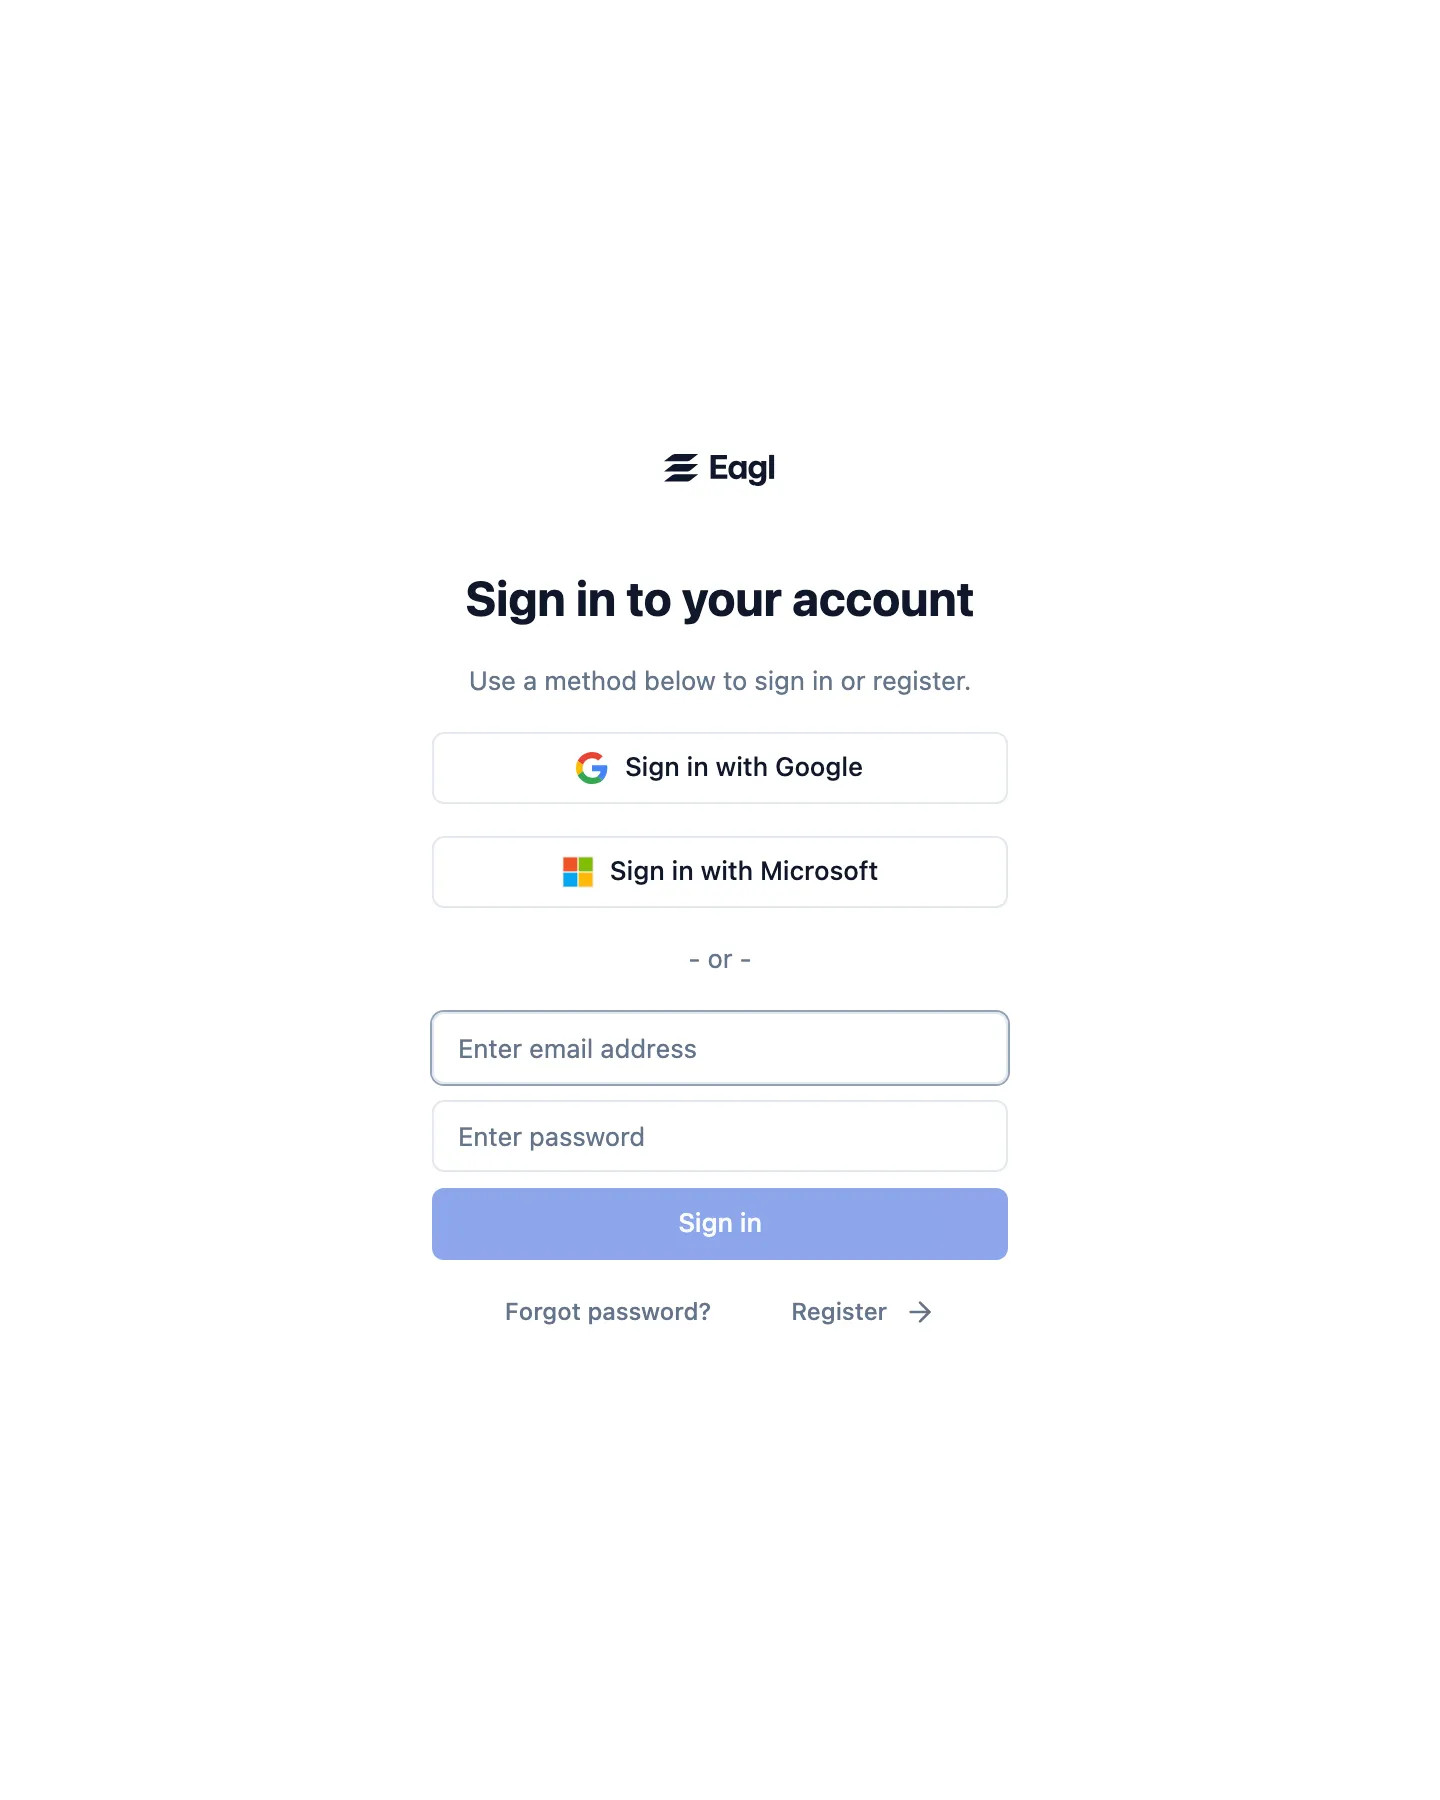
Section titled “Set up your Eagl account”Before connecting NetSuite, create and sign in to your Eagl account.
Go to app.eagl.finance and sign in with Google, Microsoft, or an email and password. If you don’t have an account yet, one is created the first time you sign in. For help reaching an existing organization, contact your administrator or support@geteagl.com.
Connect in Eagl
Section titled “Connect in Eagl”Connecting takes the four credentials produced by the NetSuite setup below. Once you have them (see Set up NetSuite), connect the integration in Eagl.
-
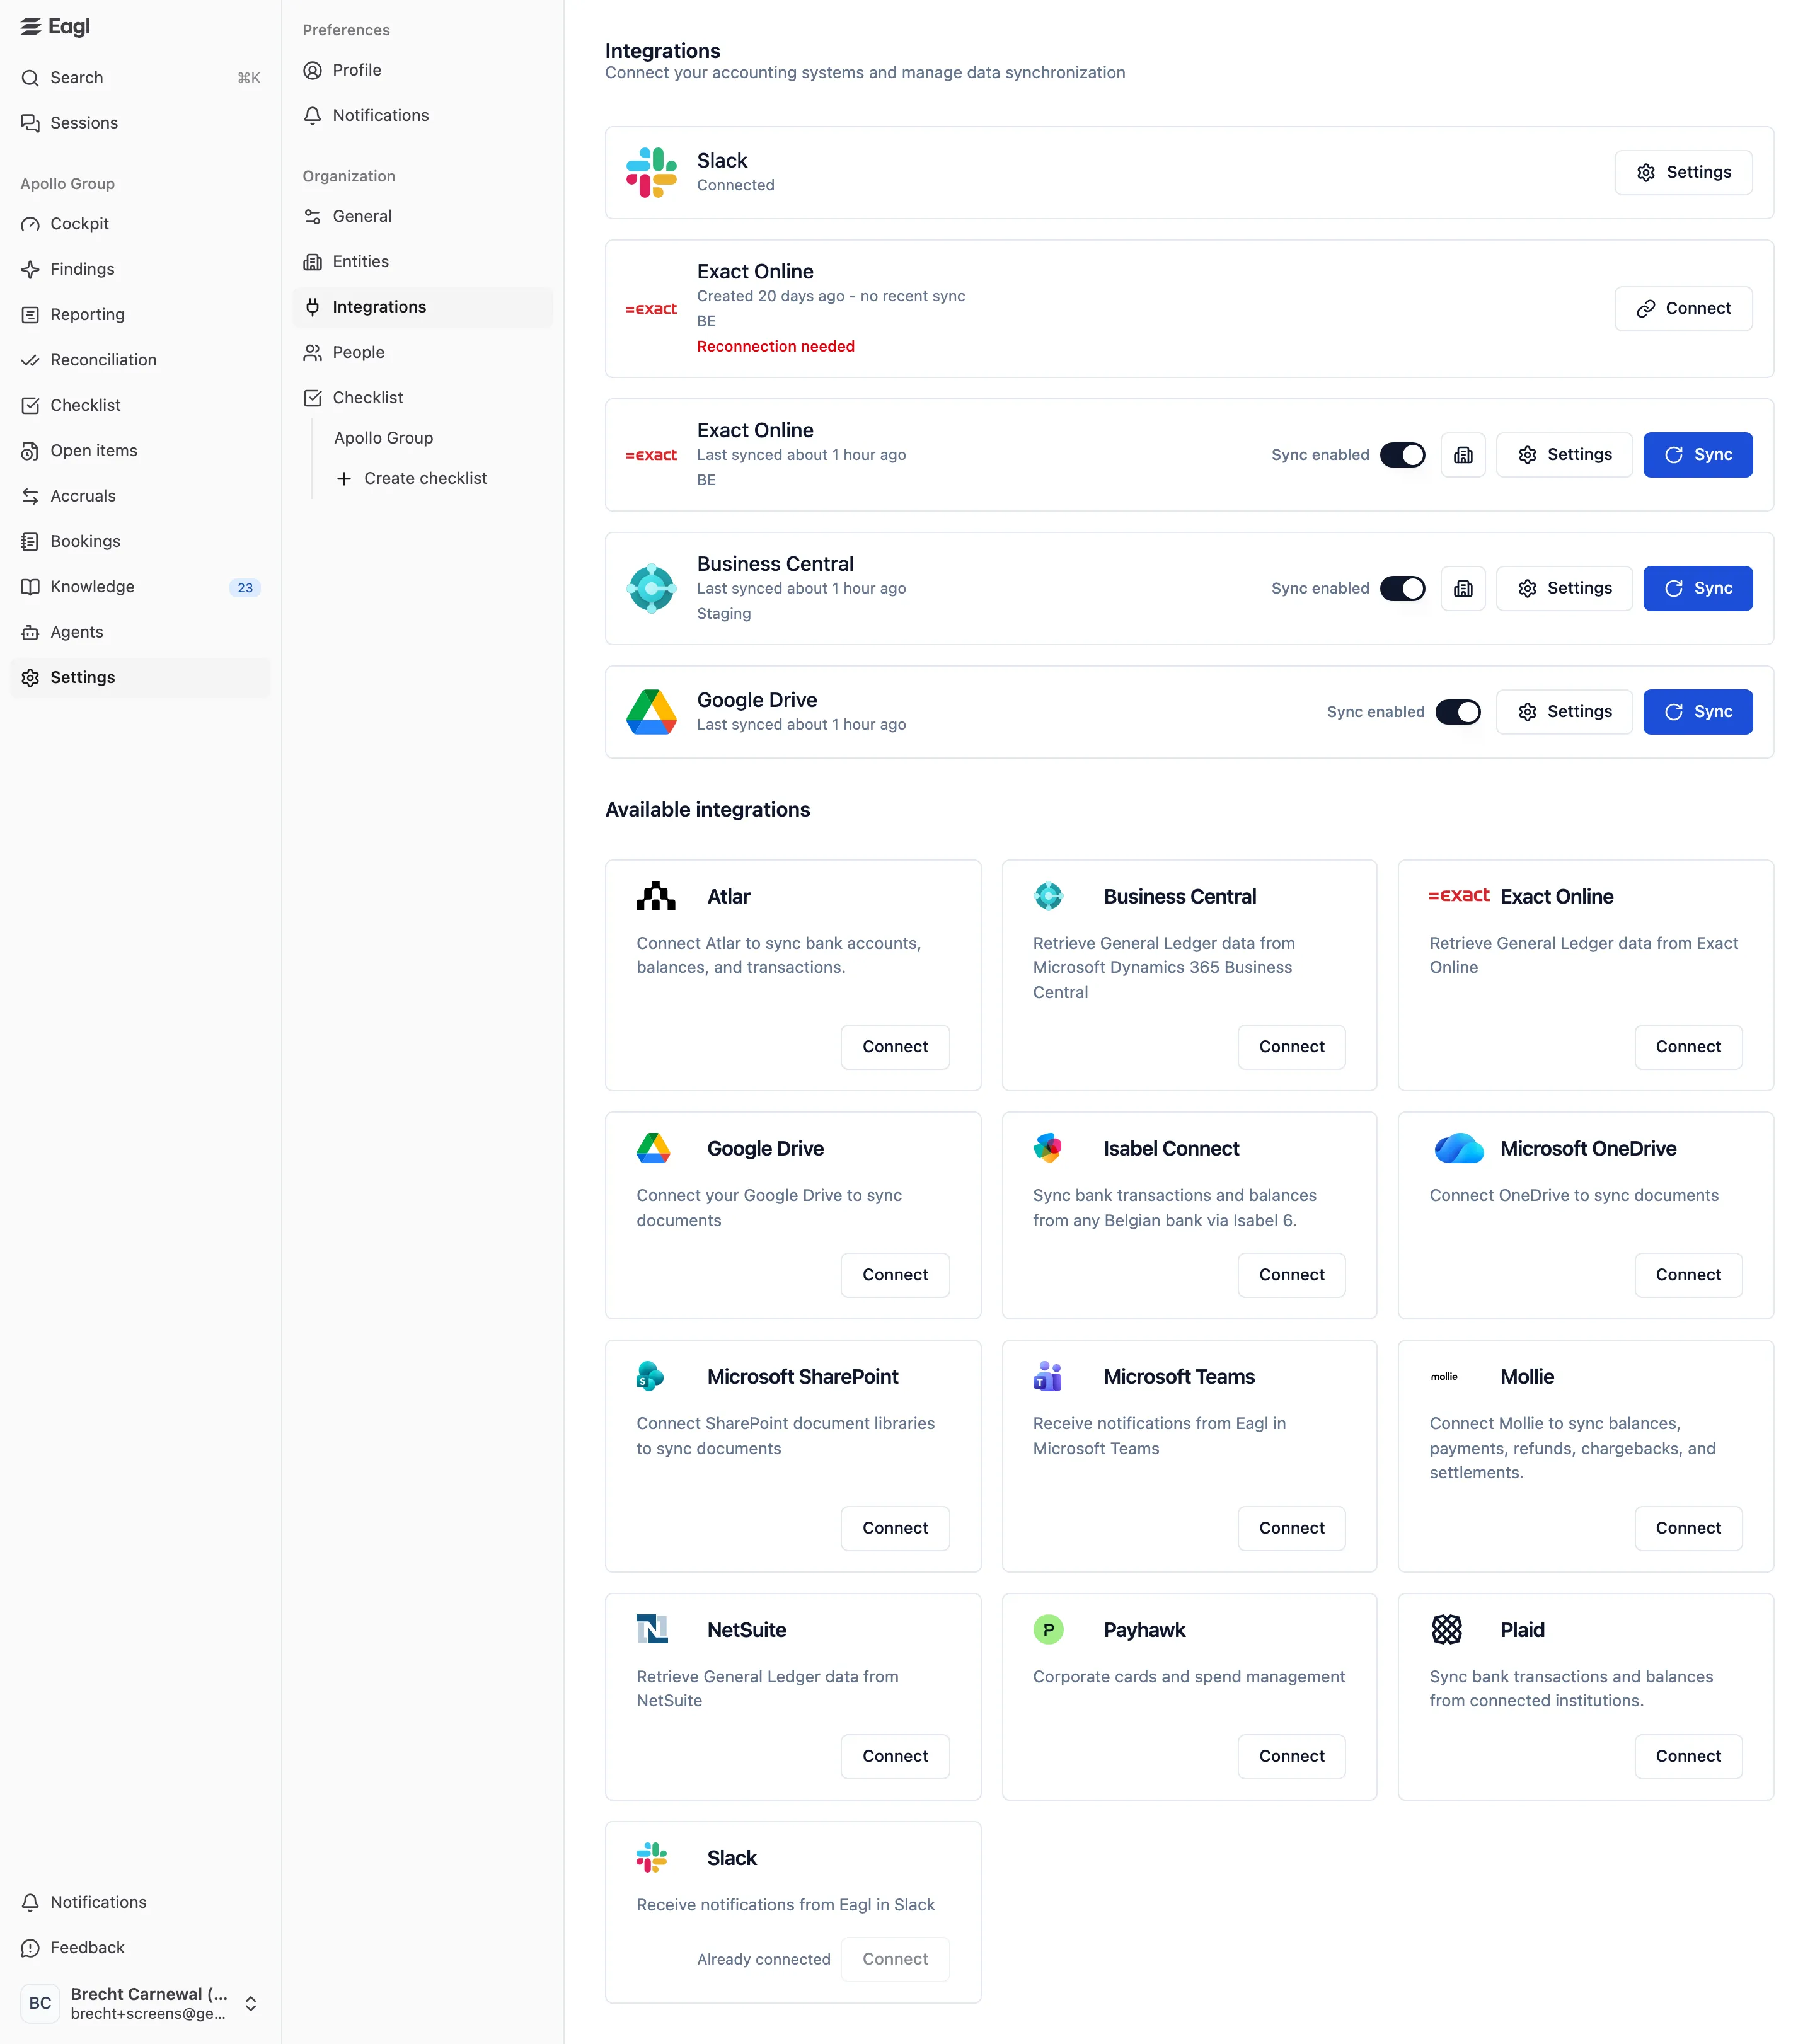
In Eagl, go to Settings → Integrations and click Connect on NetSuite.
-
Enter your Account ID, Consumer Key/Secret, and Token ID/Secret. You’ll find your Account ID at the start of your NetSuite URL. For
https://1234567.app.netsuite.com/, the Account ID is1234567. -
Click Connect.
Set up NetSuite
Section titled “Set up NetSuite”-
Log in as Administrator.
Make sure you’re signed in with a NetSuite account that has the Administrator role.
-
Enable Web Services.
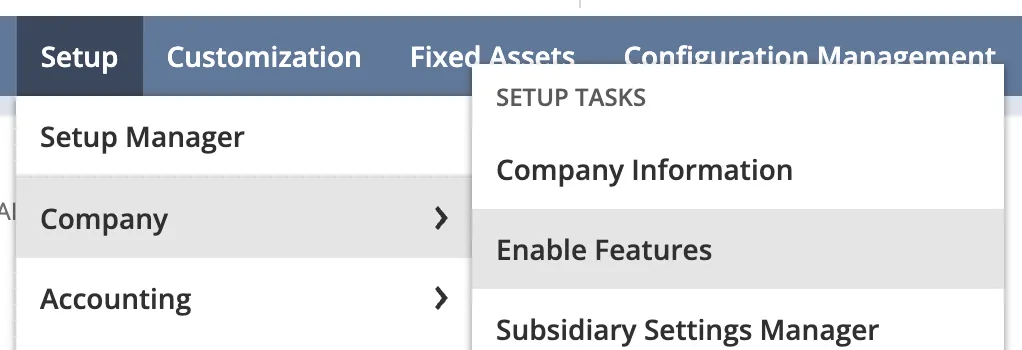
Go to Setup → Company → Enable Features.
Open the SuiteCloud tab.
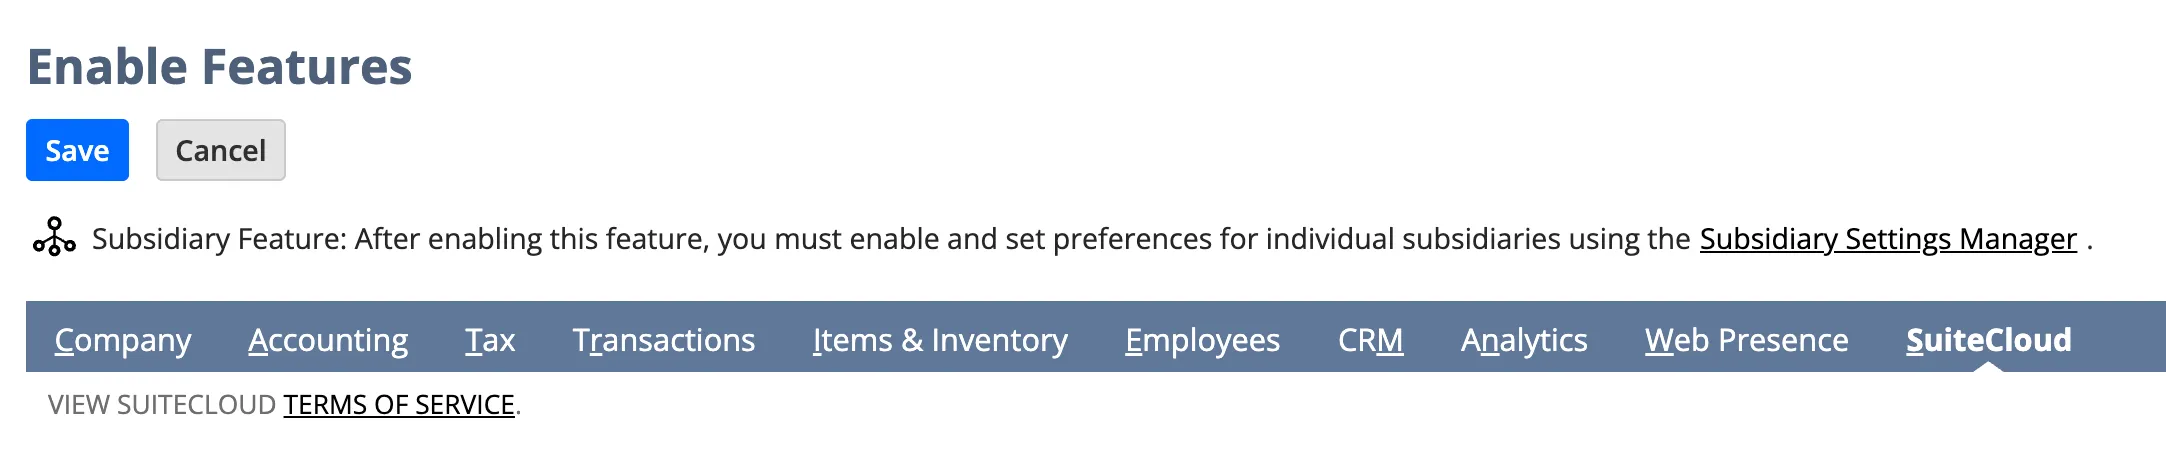
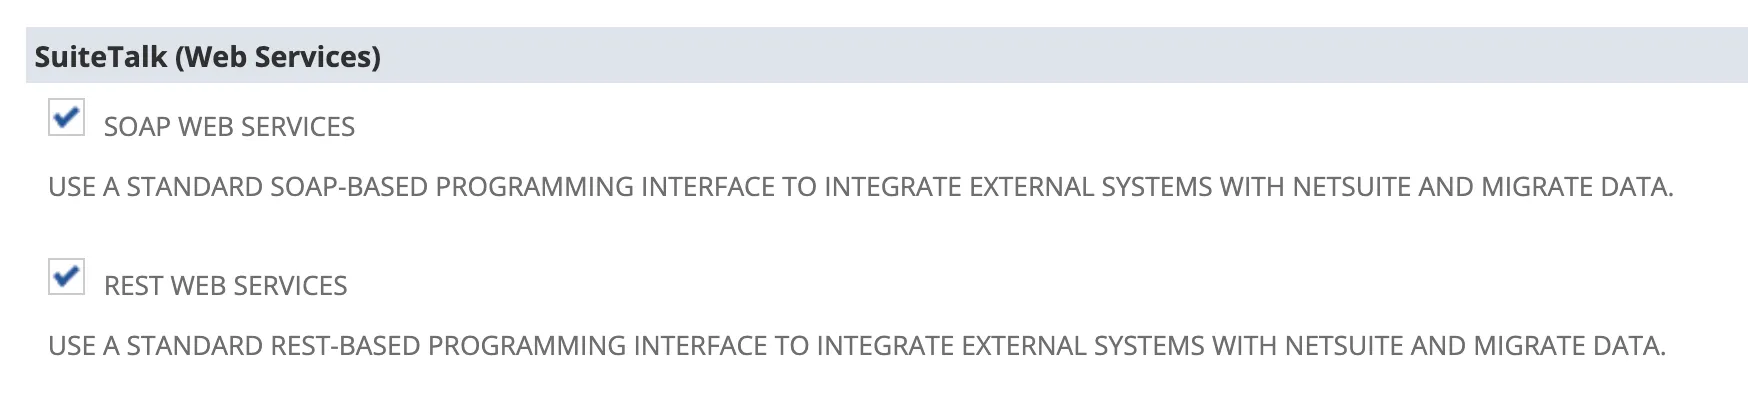
Under SuiteTalk (Web Services), toggle on REST Web Services and SOAP Web Services.
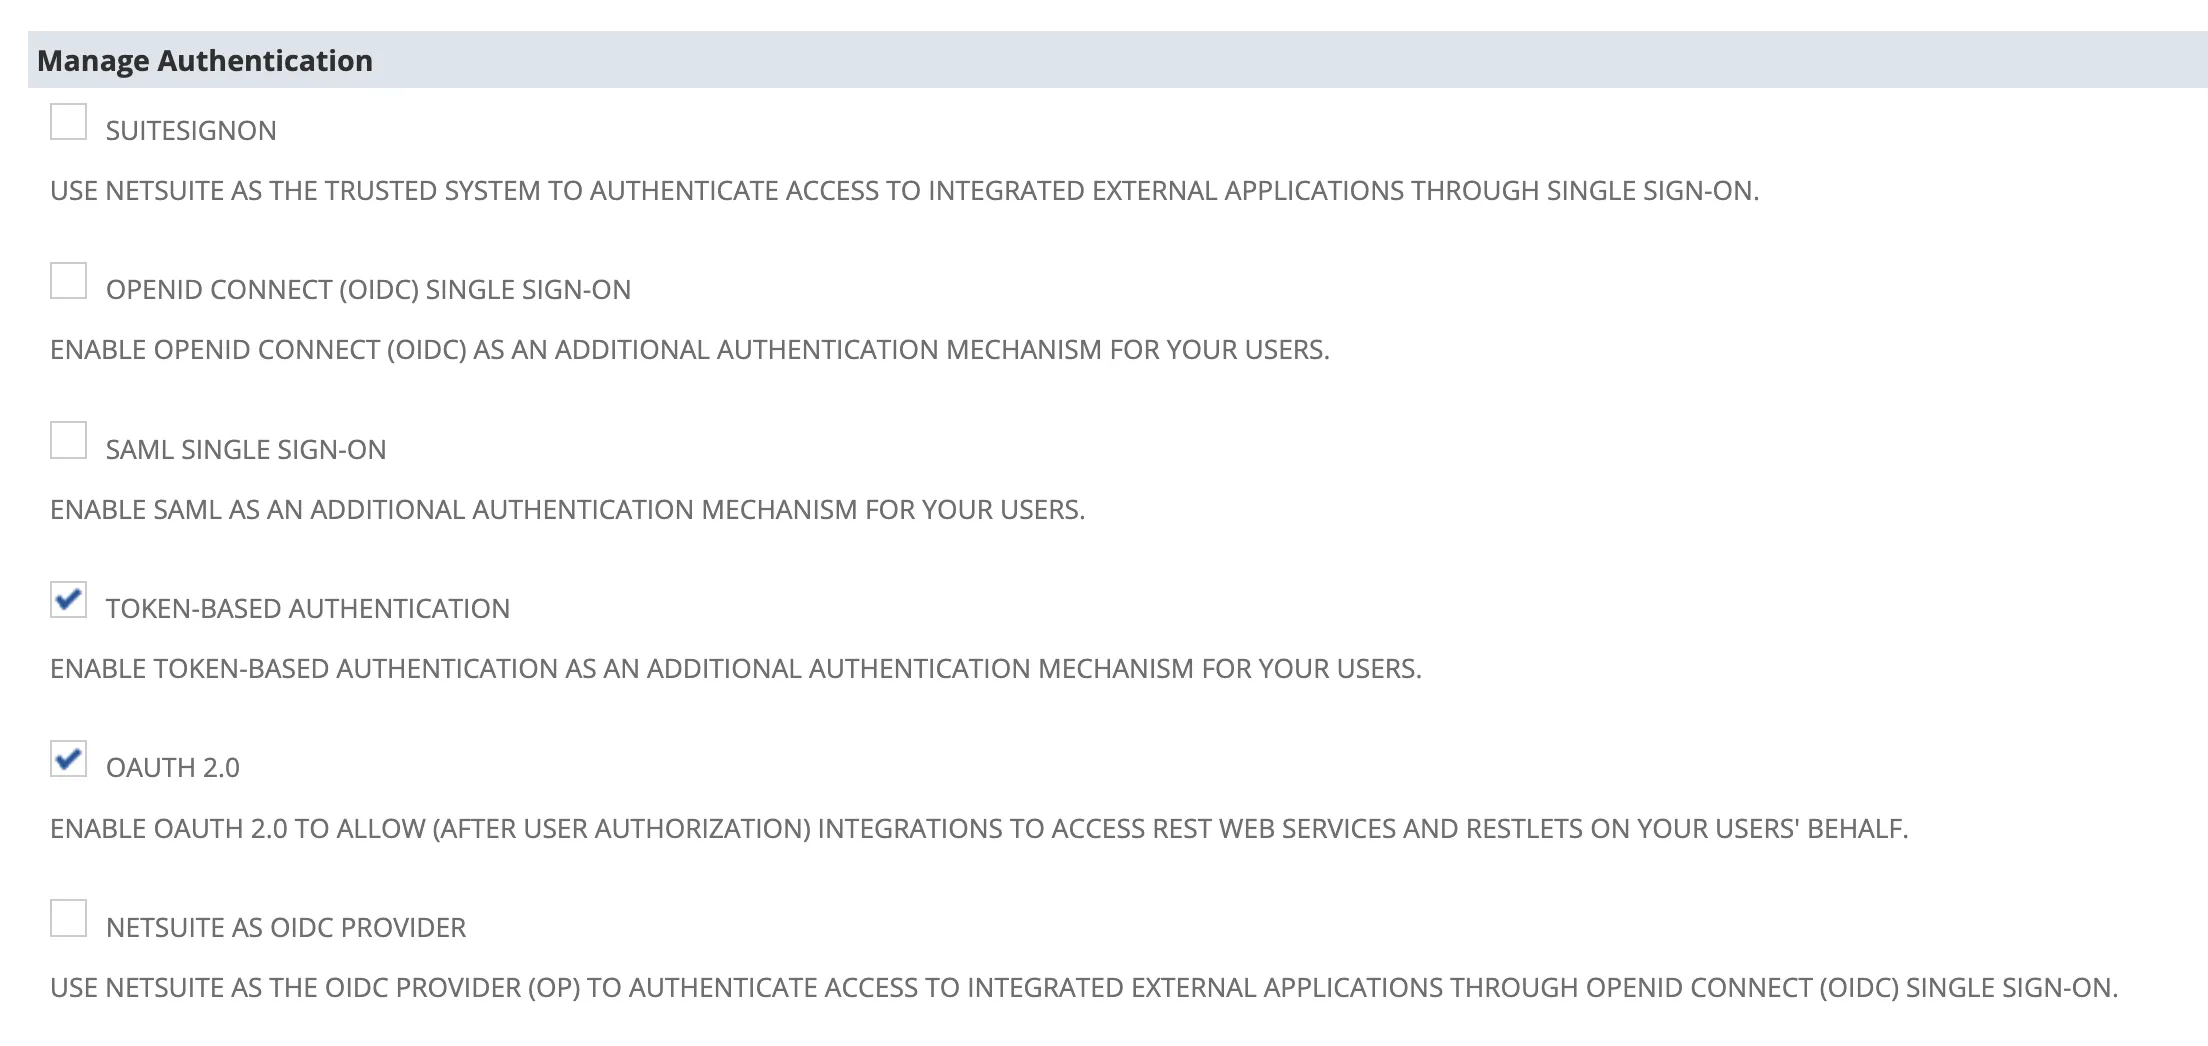
Then scroll to Manage Authentication and make sure Token-Based Authentication is toggled on. Save.
-
Create the integration role.
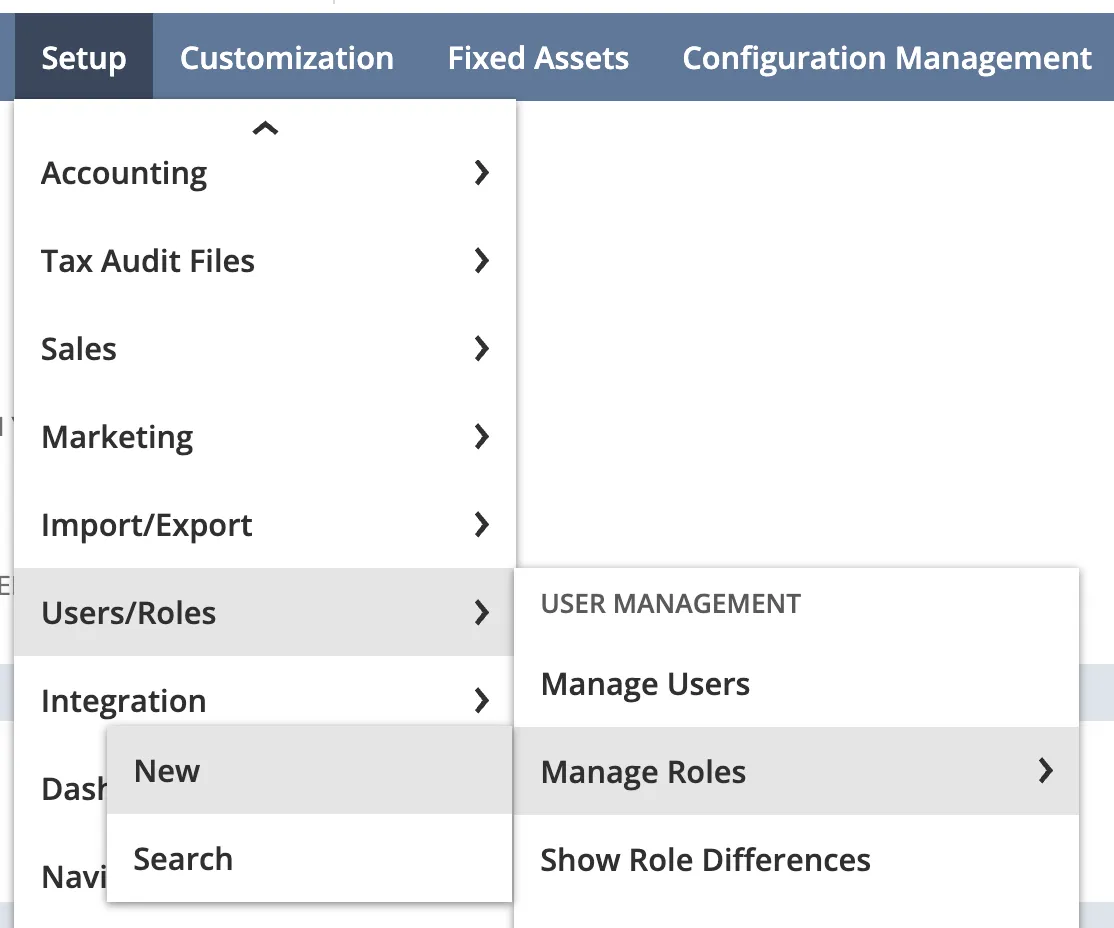
Go to Setup → Users/Roles → Manage Roles → New.
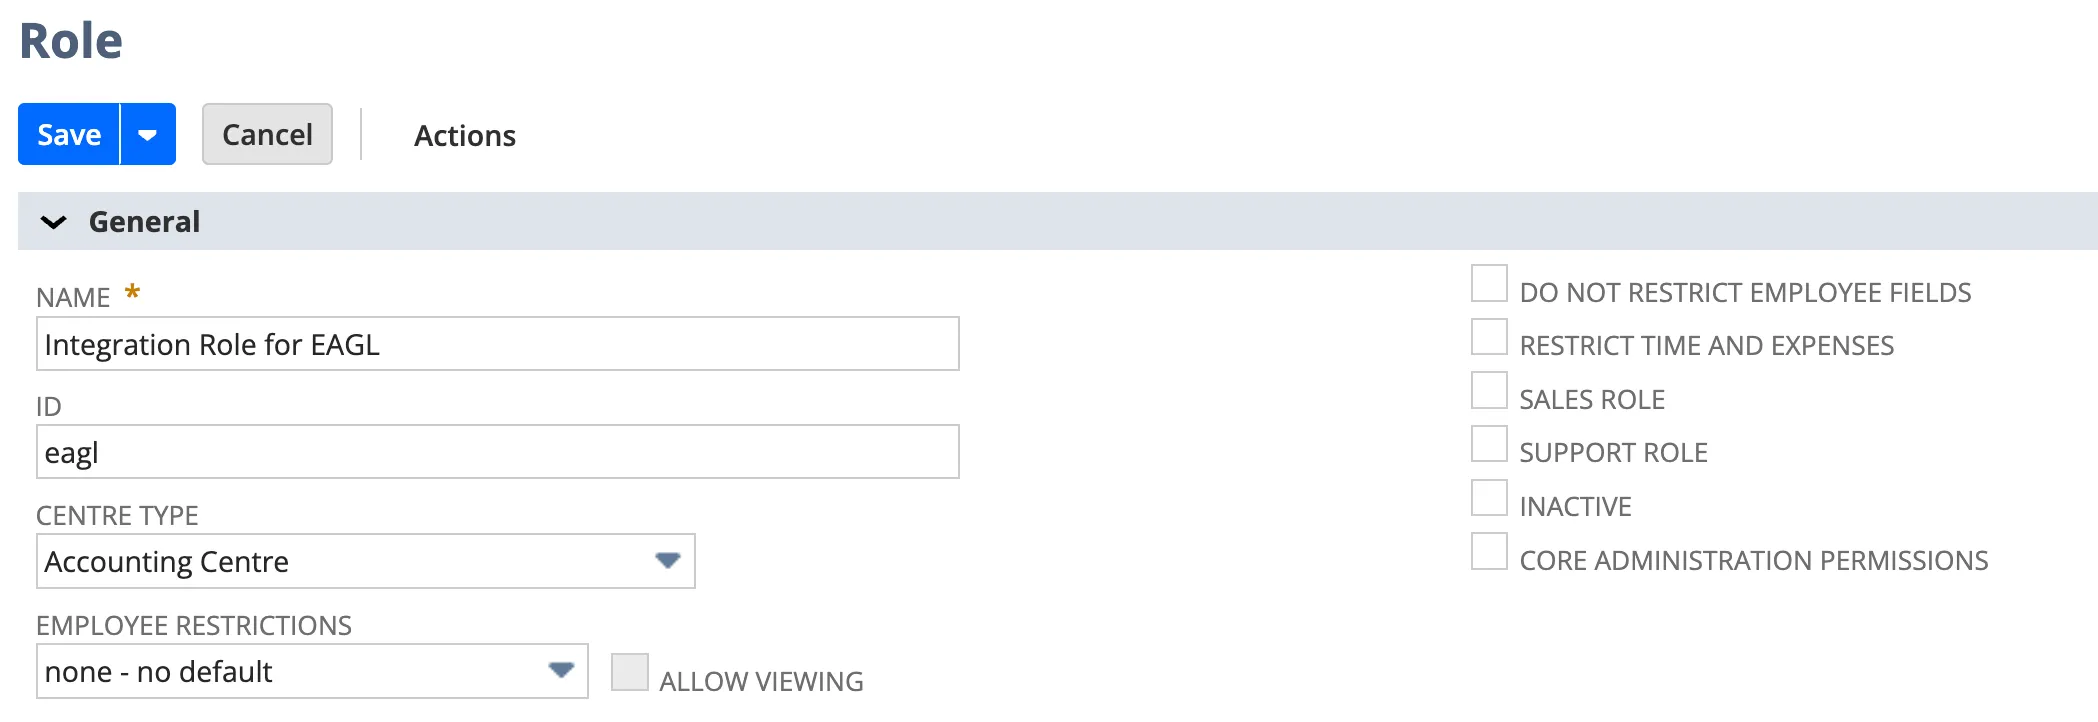
Give the role these details:
- Name:
Integration Role for Eagl - ID:
eagl - Center Type: Accounting Center
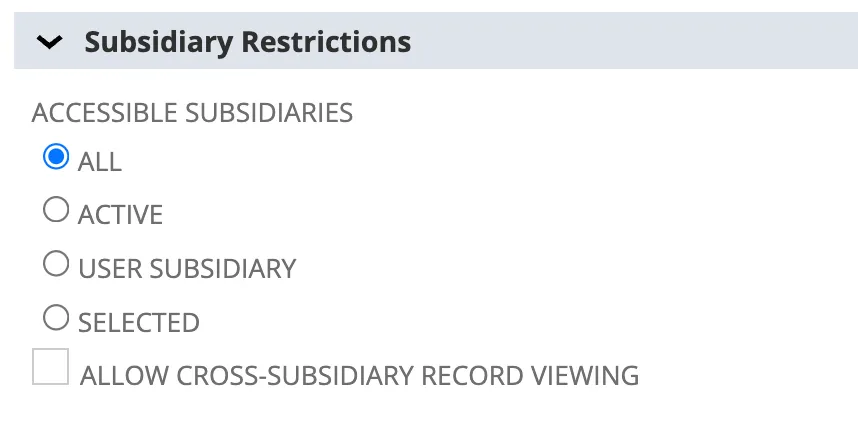
Select the subsidiaries that should be accessible by Eagl.
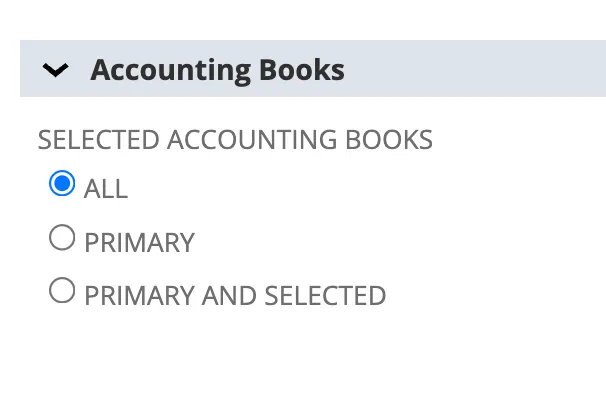
Select all accounting books (if your account has more than one).
Under Authentication, toggle Web Services Only Role on.

Then open the Permissions tab and grant the access listed under Role permissions below. Save.
- Name:
-
Assign the role to a user.
Go to Lists → Employees → Employees and open (or create) the user record Eagl will connect as. On the Access tab → Roles sub-tab, select Integration Role for Eagl, click Add, then Save.
-
Create the integration record.
Go to Setup → Integration → Manage Integrations → New.
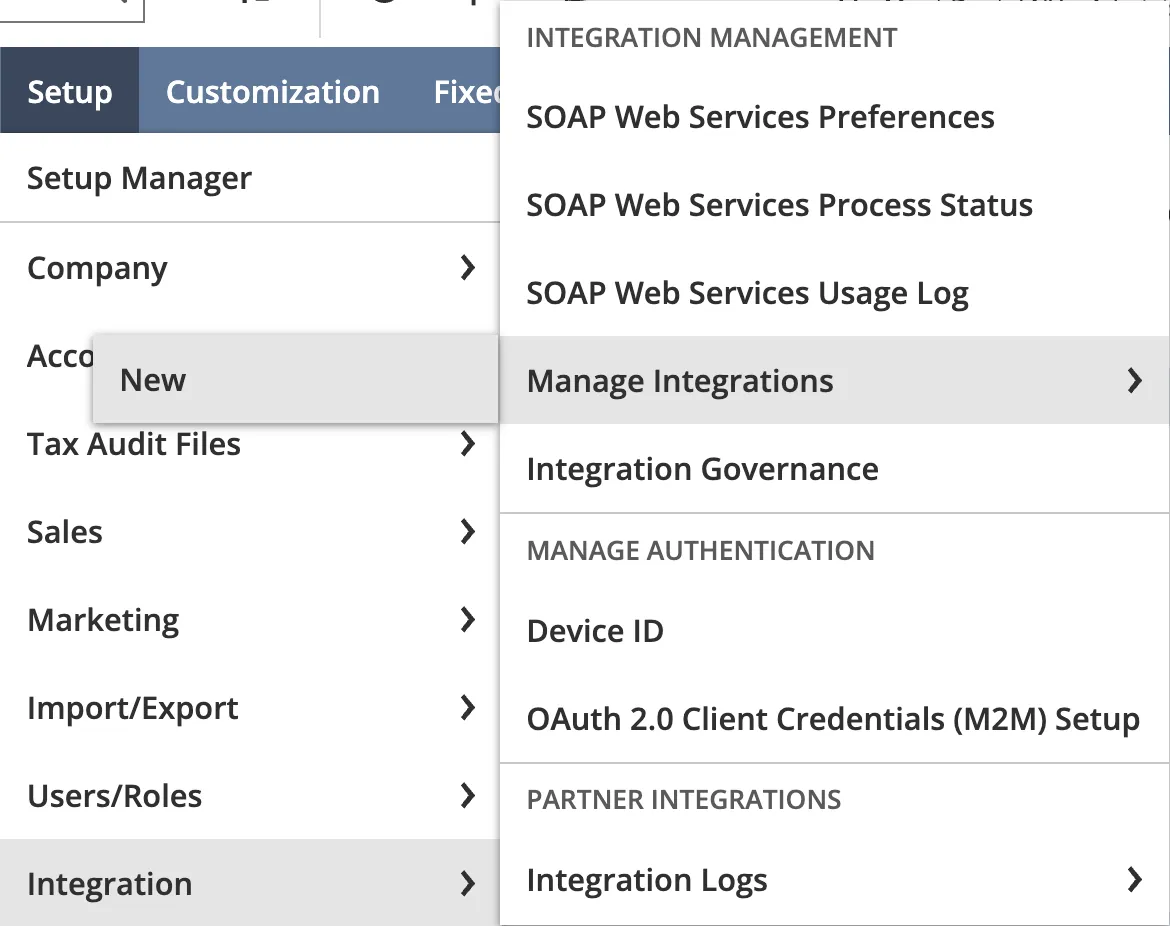
Enter a name (e.g.
Integration for Eagl) and set State to Enabled.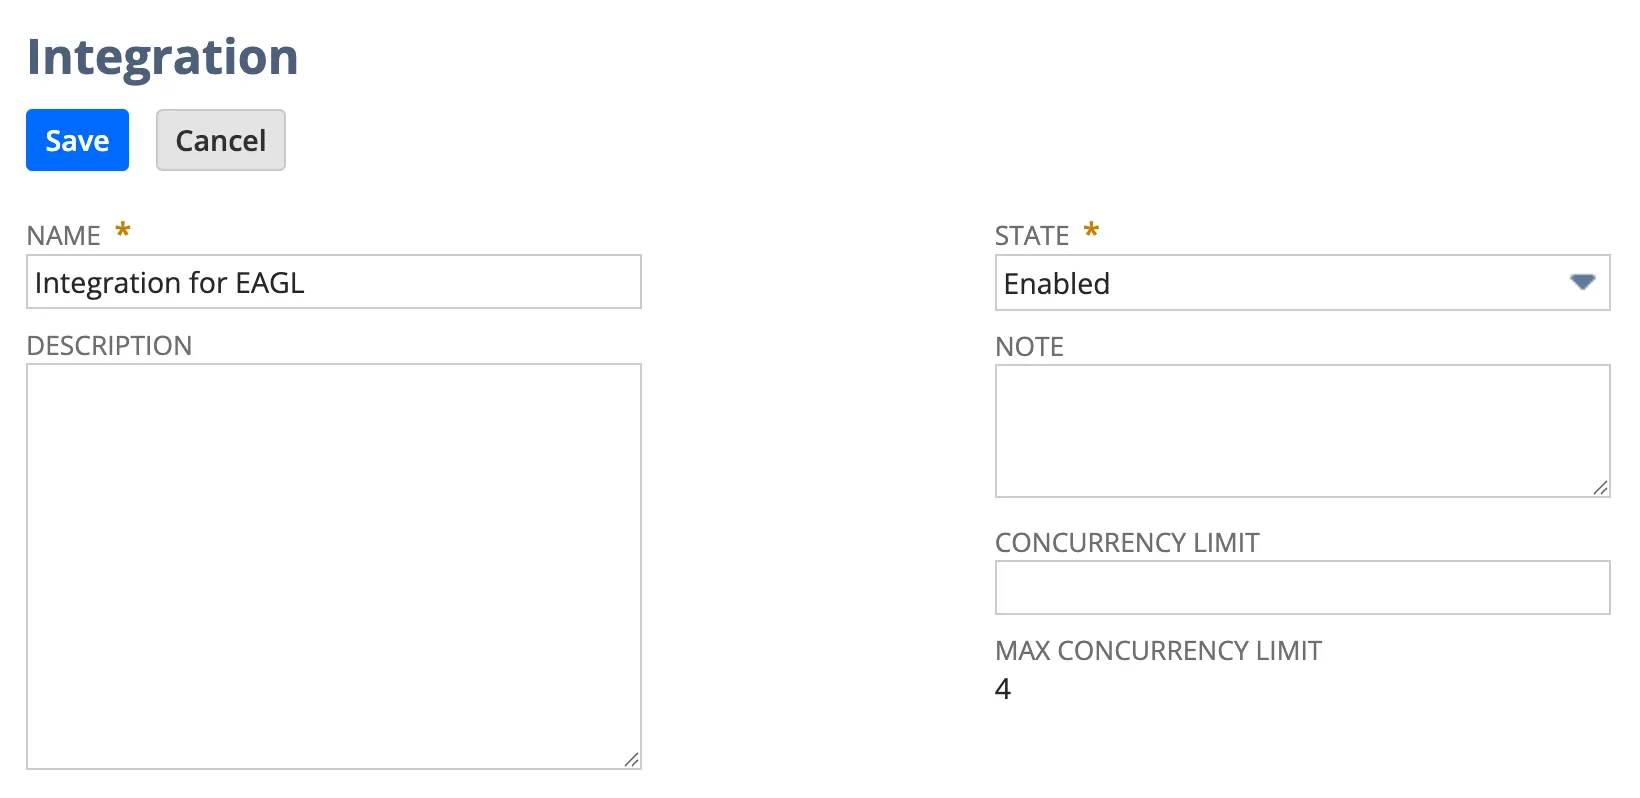
On the Authentication tab, toggle Token-Based Authentication → Enable on. Do not enable Authorization Flow or Authorization Code Grant.
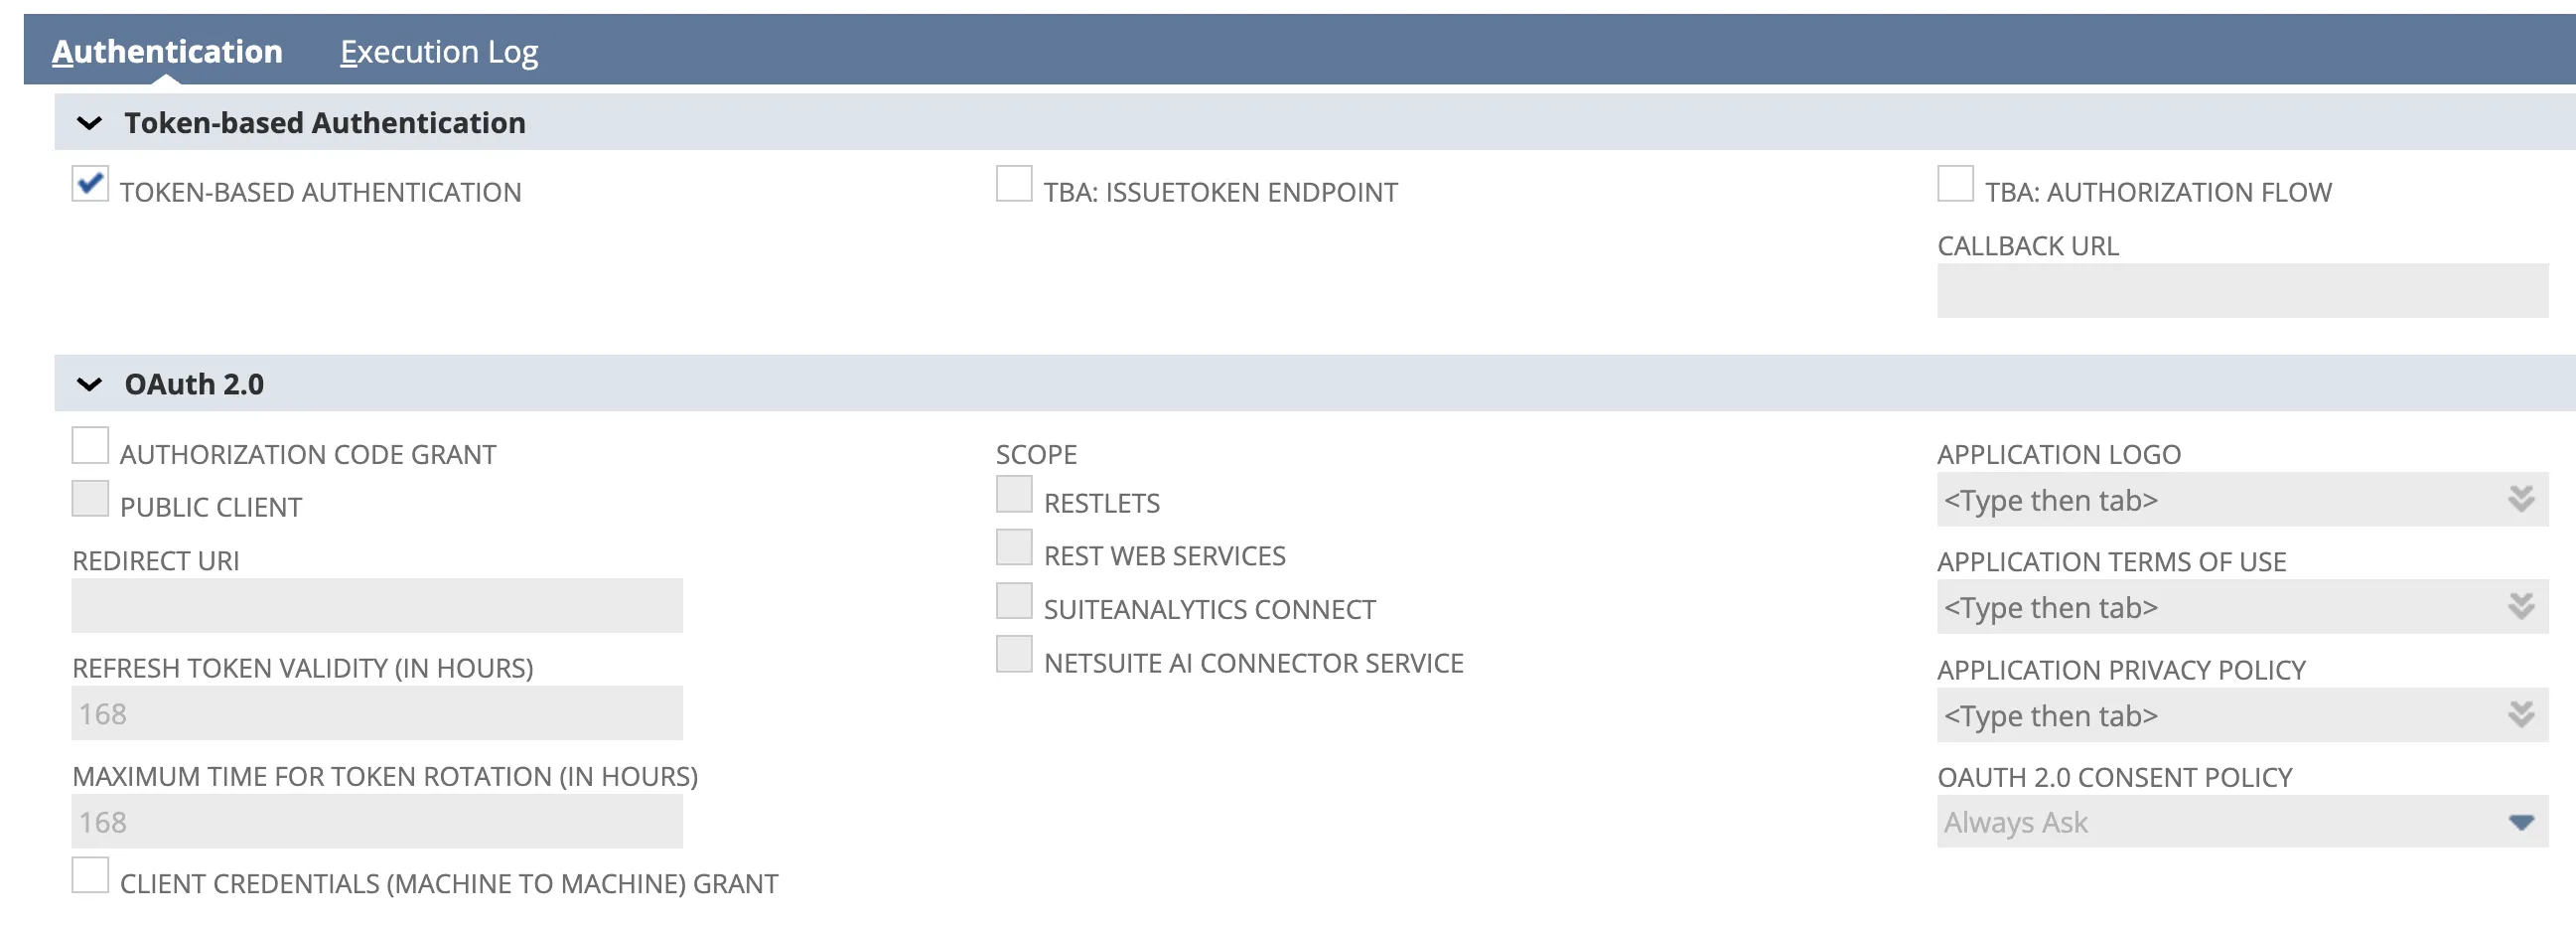
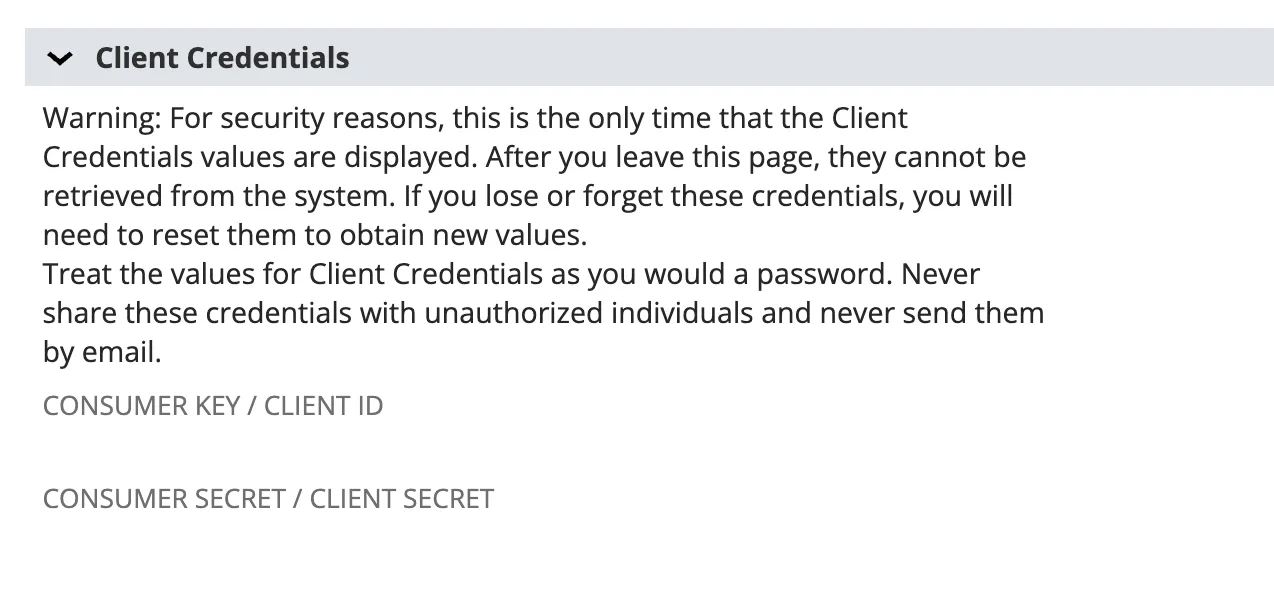
Save, then scroll to the bottom and copy the Consumer Key and Consumer Secret.
-
Generate an access token.
Go to Setup → Users/Roles → Access Tokens → New and select:
- Application Name: the integration you just created
- User: the user you assigned the role to
- Role: Integration Role for Eagl
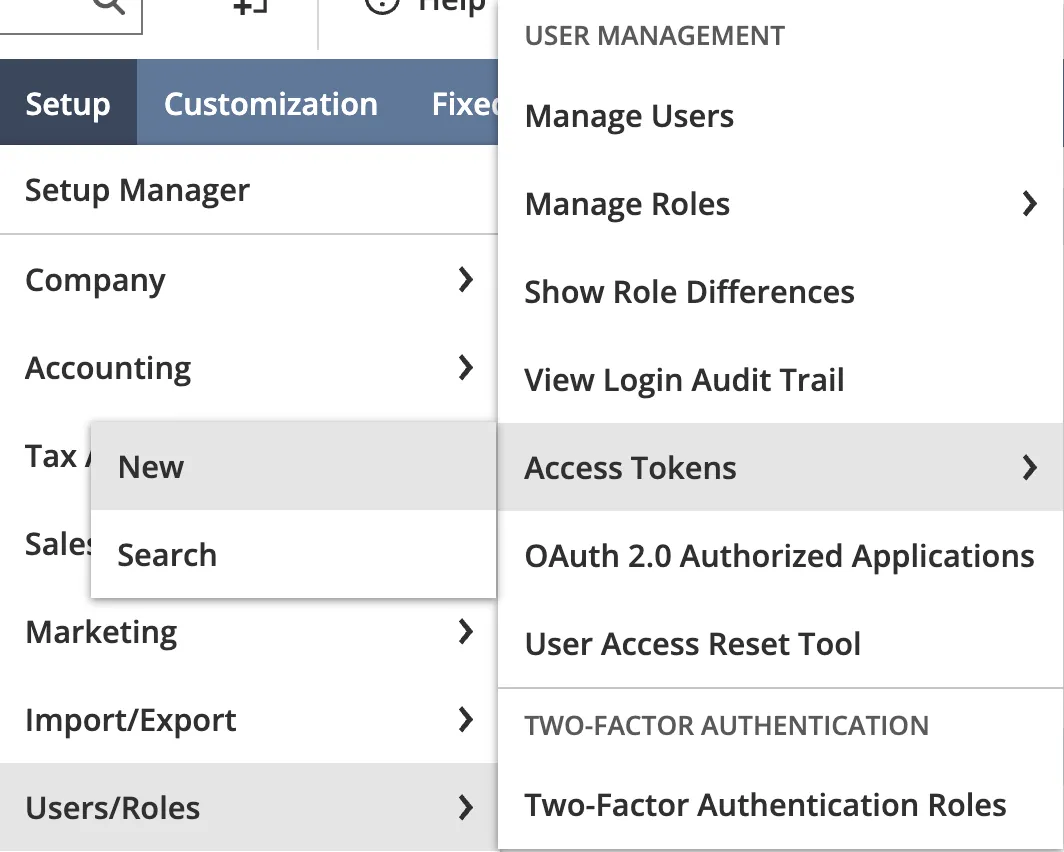
Save, then copy the Token ID and Token Secret.
Role permissions
Section titled “Role permissions”On the integration role’s Permissions tab, grant the access below. These give Eagl read access to your ledger and reporting data, the write access it needs to post corrections and accruals (journal entries and vendor bills/credits) and to record cash applications (customer and bill payments), plus the access tokens and File Cabinet permissions it uses to sync documents.
Transactions
Section titled “Transactions”Grant at least View on every Transaction permission, and Full on the ones Eagl writes to:
| Permission | Level | Reason |
|---|---|---|
| All other Transaction permissions | View | Syncing your ledger. Eagl reads every posted transaction for reporting, reconciliation, the agents, and open invoices and bills. NetSuite leaves out any transaction type the role can’t view, so a missing permission means missing transactions in Eagl. |
| Bills | Full | Corrective actions and deferrals: Eagl corrects the account, class, location and department on vendor bill lines, and sets up amortization schedules on them. |
| Enter Vendor Credits | Full | Corrective actions and deferrals: the same line corrections and amortization schedules on vendor credits. |
| Make Journal Entry | Full | Accruals and corrective actions: Eagl books accruals and their reversals as journal entries, and corrects journal lines. |
| Customer Payment | Full | Cash application: Eagl records the customer payment that applies a bank receipt to the invoices it pays. |
| Pay Bills | Full | Cash application: Eagl records the bill payment for a direct debit or bank transfer made outside your payment runs. |
If corrections get blocked by a workflow lock, see Workflow record locks.
Reports
Section titled “Reports”| Permission | Level |
|---|---|
| SuiteAnalytics Workbook | Edit |
| Account Detail | View |
| Accounts Payable | View |
| Accounts Receivable | View |
| Accounts Receivable Un-Billed | View |
| Amortization Reports | View |
| Balance Sheet | View |
| Budget | View |
| Consolidated Reporting | View |
| Deferred Expense Reports | View |
| Expenses | View |
| Financial Statements | View |
| General Ledger | View |
| Granting access to Reports | View |
| Income | View |
| Inventory | View |
| Net Worth | View |
| Period End Financial Statements | View |
| Profit and Loss | View |
| Purchases | View |
| Sales Order Transaction Report | View |
| Tax | View |
| Transaction Detail | View |
| Trial Balance | View |
| Permission | Level |
|---|---|
| Accounts | View |
| Amortization Schedules | Full |
| Business Units | View |
| Classes | View |
| Contacts | View |
| Cost of Goods Sold Registers | View |
| Currency | View |
| Customers | View |
| Department | View |
| Documents and Files | Full |
| Employees | View |
| Financial History | View |
| Fixed Asset Registers | View |
| Items | View |
| Locations | View |
| Memorized Transactions | View |
| Other Asset Registers | View |
| Other Current Asset Registers | View |
| Other Current Liability Registers | View |
| Other Expense Registers | View |
| Other Income Registers | View |
| Projects | View |
| Subsidiaries | View |
| System Notes for Analytics and REST | View |
| Tax Schedules | View |
| Tax Records | View |
| Vendors | View |
| Permission | Level |
|---|---|
| Deleted Records | View |
| Log in using Access Tokens | Full |
| REST Web Services | Full |
| SOAP Web Services | Full |
| User Access Tokens | Full |
| Manage Accounting Periods | View |
Custom Record
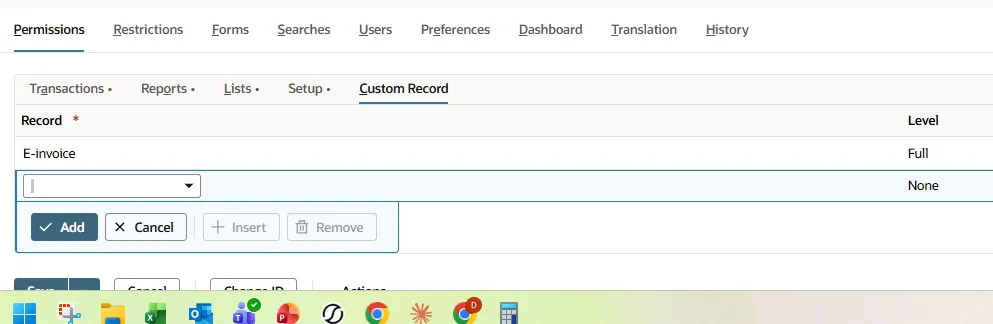
Section titled “Custom Record”If your account has an e-invoice custom record (for example, one managed by Novutech or a similar provider), grant it Full access.
File Cabinet folder access
Section titled “File Cabinet folder access”Setting Documents and Files → Full gives the role access to the File Cabinet, but individual folders can still carry restrictions that block Eagl from the files inside them.
Identify the folders Eagl’s agents will need (those containing invoices, bank statements, and similar source documents), and grant access ahead of onboarding for a smooth start. We’ll reach out directly if something is still missing.
To grant access to a folder (e.g. “Folder X”):
-
Go to Documents → Documents Overview and open Folder X.
-
Click Edit and note the restrictions. Restrict by group is the most common one we see.
-
Grant your integration role access. How you do this depends on your security model:
- Dynamic group (members generated from a saved search, e.g. groups named
… loc: <Location>): open the integration employee record under Lists → Employees → Employees, click Edit, add the relevant Location to the Location Folder Access field, and Save. The employee then qualifies for the group automatically. - Static group: open the group, go to the Members sub-tab, add the integration employee, and Save.
- Dynamic group (members generated from a saved search, e.g. groups named
-
Confirm the integration employee now appears on the group’s Members sub-tab.
Workflow record locks
Section titled “Workflow record locks”Some accounts run an approval workflow with a Lock Record action on transactions. If that action doesn’t restrict its context, it locks the record in every context — including the REST API Eagl uses to post corrections. When this happens, corrections fail with:
This record has been locked by a user defined workflow.
The lock can’t be bypassed from the API; it has to be narrowed in the workflow itself. This only affects accounts that lock transactions this way — if you don’t use a Lock Record action, you can skip this.
-
Go to Customization → Workflow → Workflows and open the approval workflow that locks the transaction.
-
Check every state for a Lock Record action. It commonly sits on Pending Approval and Approved, sometimes both, so review all of them.
-
Open each Lock Record action and set Context Types to only the contexts you want locked. Keep User Interface, and leave out REST Web Services and Web Services. A blank value means all contexts, which is what causes the block.
-
Save each action, then re-book a correction to confirm it goes through.
The record stays locked for normal users in the UI, while API integrations like Eagl can still post corrections.