

People
Settings → People is where owners and admins decide who can use Eagl, what they can do, and which entities they can see. Access in Eagl has two parts:
- A role (Owner, Admin, Member, or Audit) decides what someone can do.
- Entity access decides which entities’ data they see. Someone limited to two entities only sees those two, in every part of Eagl.
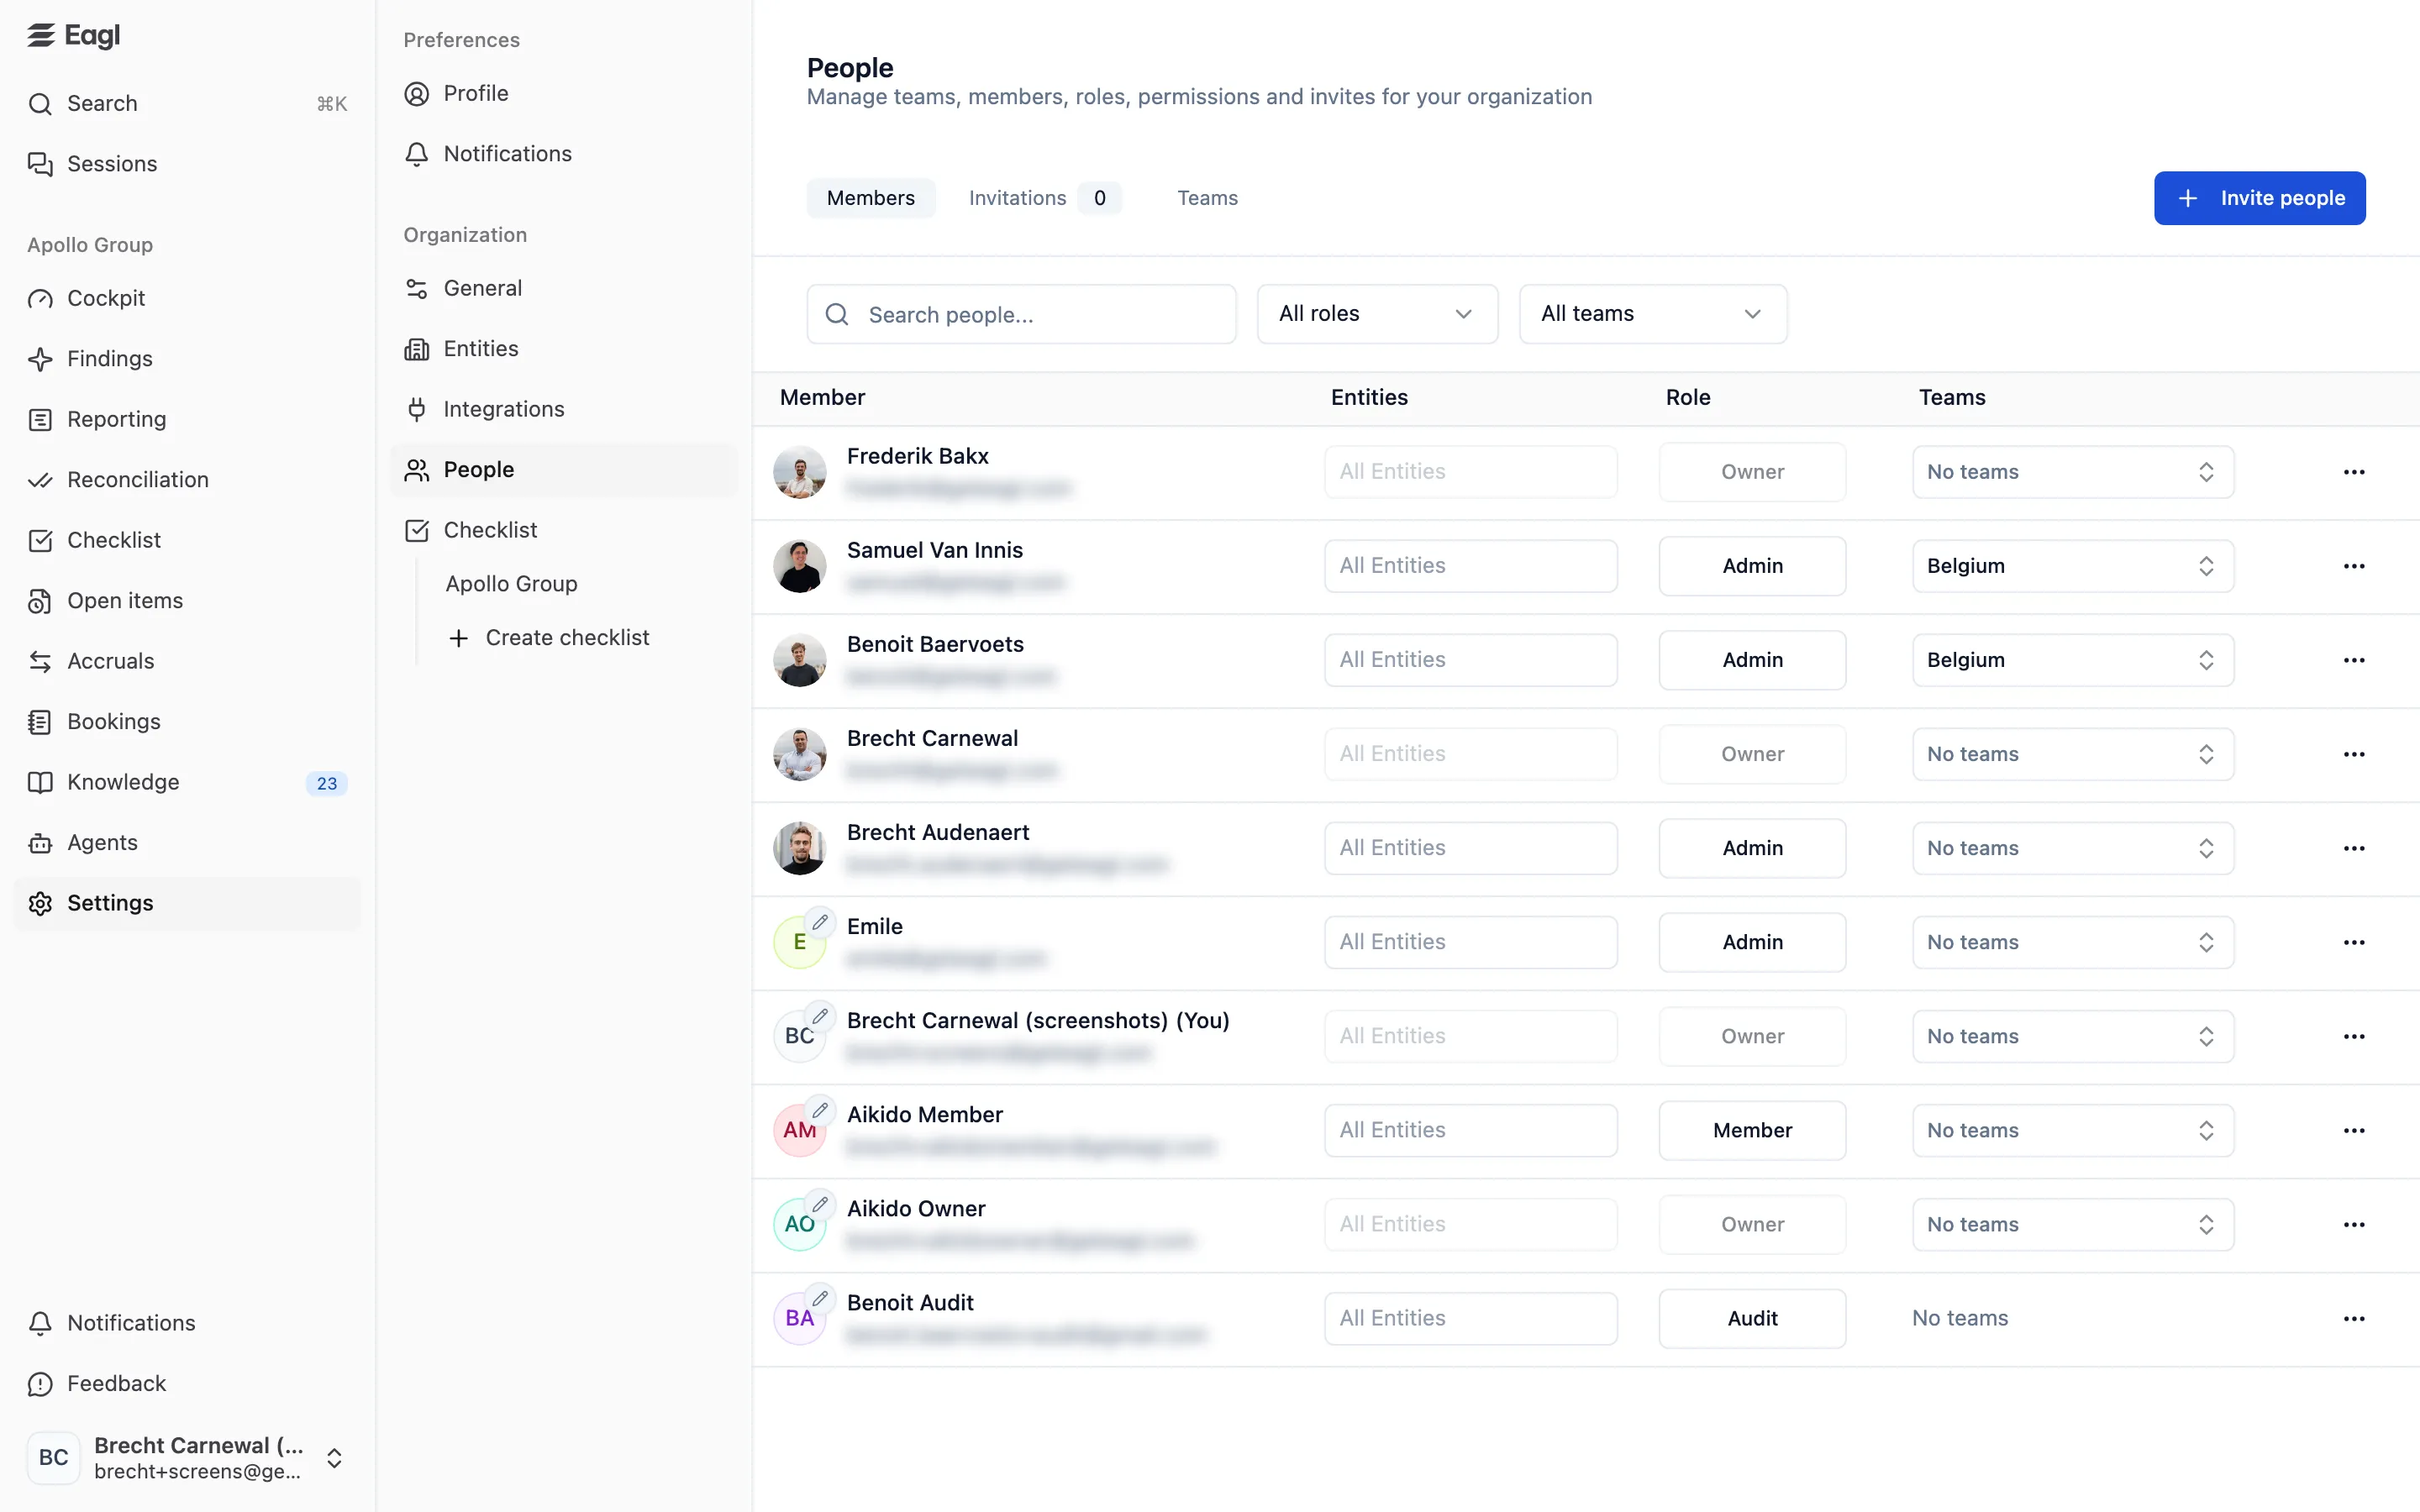
The page has three tabs: Members, Invitations (with the number of pending invitations), and Teams. The button on the right is Invite people, or Create team on the Teams tab.
| Role | Meant for |
|---|---|
| Owner | People who run the Eagl organization. Owners always see every entity and every checklist. |
| Admin | People who set up and manage Eagl: settings, integrations, people, checklists, and Knowledge. |
| Member | Everyone who does the day-to-day work: reviewing findings, reconciling, working on the close, booking corrections. |
| Audit | External auditors. Audit users only get a read-only document search. See The Audit role. |
Who can do what
Section titled “Who can do what”| Action | Owner | Admin | Member | Audit |
|---|---|---|---|---|
| Use Cockpit, Findings, Reporting, Reconciliation, Checklist, Open items, Accruals, Bookings, Agents, Search, and Sessions | ✓ | ✓ | ✓ | |
| Book corrections, accruals, and reversals to your ERP | ✓ | ✓ | ✓ | |
| Edit your own profile and notification preferences | ✓ | ✓ | ✓ | |
| Search documents in the read-only audit view | ✓ | |||
| Open Settings → General, Entities, Integrations, and People | ✓ | ✓ | ||
| Invite people, change roles, set entity access, and remove members | ✓ | ✓ (see below) | ||
| Create teams and assign people to them | ✓ | ✓ | ||
| Create checklists and change checklist settings | ✓ | ✓ (checklists they’re on) | ||
| Delete checklist tasks; close, reopen, create, and delete periods | ✓ | ✓ | ||
| Open Knowledge and manage rules, policies, and suggestions | ✓ | ✓ | ||
| Set up Accruals | ✓ | ✓ | ||
| Start agent runs | ✓ | ✓ | ||
| Sign off reconciliations, use Book entry and Write off on reconciliation open items, and map bank accounts to GL accounts | ✓ | ✓ | ||
| Edit or delete other people’s comments | ✓ | ✓ | ||
| See every checklist without being on it, and restore archived checklists | ✓ | |||
| Get notified when an integration needs reconnecting | ✓ |
Pages a role can’t use don’t appear in its sidebar. Members see only Profile and Notifications under Settings. For the details of each area, see its page, for example Close Checklist or Reconciliation.
Who can change whom
Section titled “Who can change whom”- Owners can invite people with any role, and can change the role of, set entity access for, or remove any Admin, Member, or Audit user. They can’t change or remove another owner.
- Admins can invite Admins, Members, and Audit users. They can change the role of, set entity access for, or remove Members and Audit users, including promoting them to Admin. They can’t change or remove owners or other admins.
- Members and Audit users can’t manage people.
- Nobody can change their own role or remove themselves.
Only an owner can make someone an owner. Promoting someone to Owner also gives them access to all entities.
Invite people
Section titled “Invite people”- Go to Settings → People and click Invite people.
- Enter the person’s Email.
- Pick a Role. You can only pick roles you’re allowed to invite (see Who can change whom).
- To limit which entities they see, tick Restrict Entity Access and pick the entities. Leave it unticked to give access to all entities. Owners always get all entities.
- Click Send Invite.
The person receives an email, Join your organization on Eagl, with a Join organization button. If they don’t have an Eagl account yet, they create one and verify their email first. Then they click Accept invitation and land in your organization with the role and entity access you chose.
Invitations expire after 14 days. If you have Slack or Microsoft Teams connected, Eagl links a new member to their chat account automatically when the email addresses match (see Managing integrations).
Manage invitations
Section titled “Manage invitations”The Invitations tab lists invitations that haven’t been accepted yet, with their Email, Status (Pending or Expired), Expires date, and Role.
- To resend an invitation, or replace an expired one, invite the same email address again.
- To withdraw an invitation, click the trash icon on its row and confirm with Delete Invitation.
Manage members
Section titled “Manage members”The Members tab lists everyone in the organization. Use Search people… to find someone by name or email, and the filters to narrow the list by role (All roles, Owner, Admin, Member, Audit) or by team (All teams, No team, or a team). The team filter and the Teams column appear once you’ve created a team.
| Column | What it shows |
|---|---|
| Member | Name, email, and avatar. (You) marks your own row. |
| Entities | The entities the person can access, or All Entities. |
| Role | Their role. Click it to change it, if you’re allowed to. |
| Teams | The teams they belong to. |
| ⋯ | Remove member. |
Controls you aren’t allowed to use are shown greyed out, for example on your own row and on owners’ rows.
Change someone’s role
Section titled “Change someone’s role”Click the role button on the person’s row and pick the new role. The change applies right away.
Set entity access
Section titled “Set entity access”Click the Entities cell on the person’s row and select the entities they should see. Close the picker to save.
- Selecting All Entities gives full access. It covers every entity, including entities that sync in from your ERP later.
- Selecting specific entities gives limited access to just those. New entities aren’t added automatically.
- Owners always have full access. Their Entities cell can’t be changed.
- An admin who has limited access themselves can only grant access to entities they can see, can’t grant full access, and can’t change the access of someone who has full access.
Change an avatar color
Section titled “Change an avatar color”For members without a profile photo, owners and admins can click the avatar (the pencil badge) to pick a different color. Each member can change their own avatar under Settings → Profile.
Remove a member
Section titled “Remove a member”Click ⋯ on the person’s row, choose Remove member, and confirm with Remove Member. This can’t be undone.
Removing someone ends their access to the organization and takes them off the checklists and teams they were on. Their past comments and activity stay in Eagl, shown under their name with (Deleted) added. To bring them back, invite them again.
Teams group people so you can give a whole team access to a checklist at once. See Close Checklist for how checklist access works.
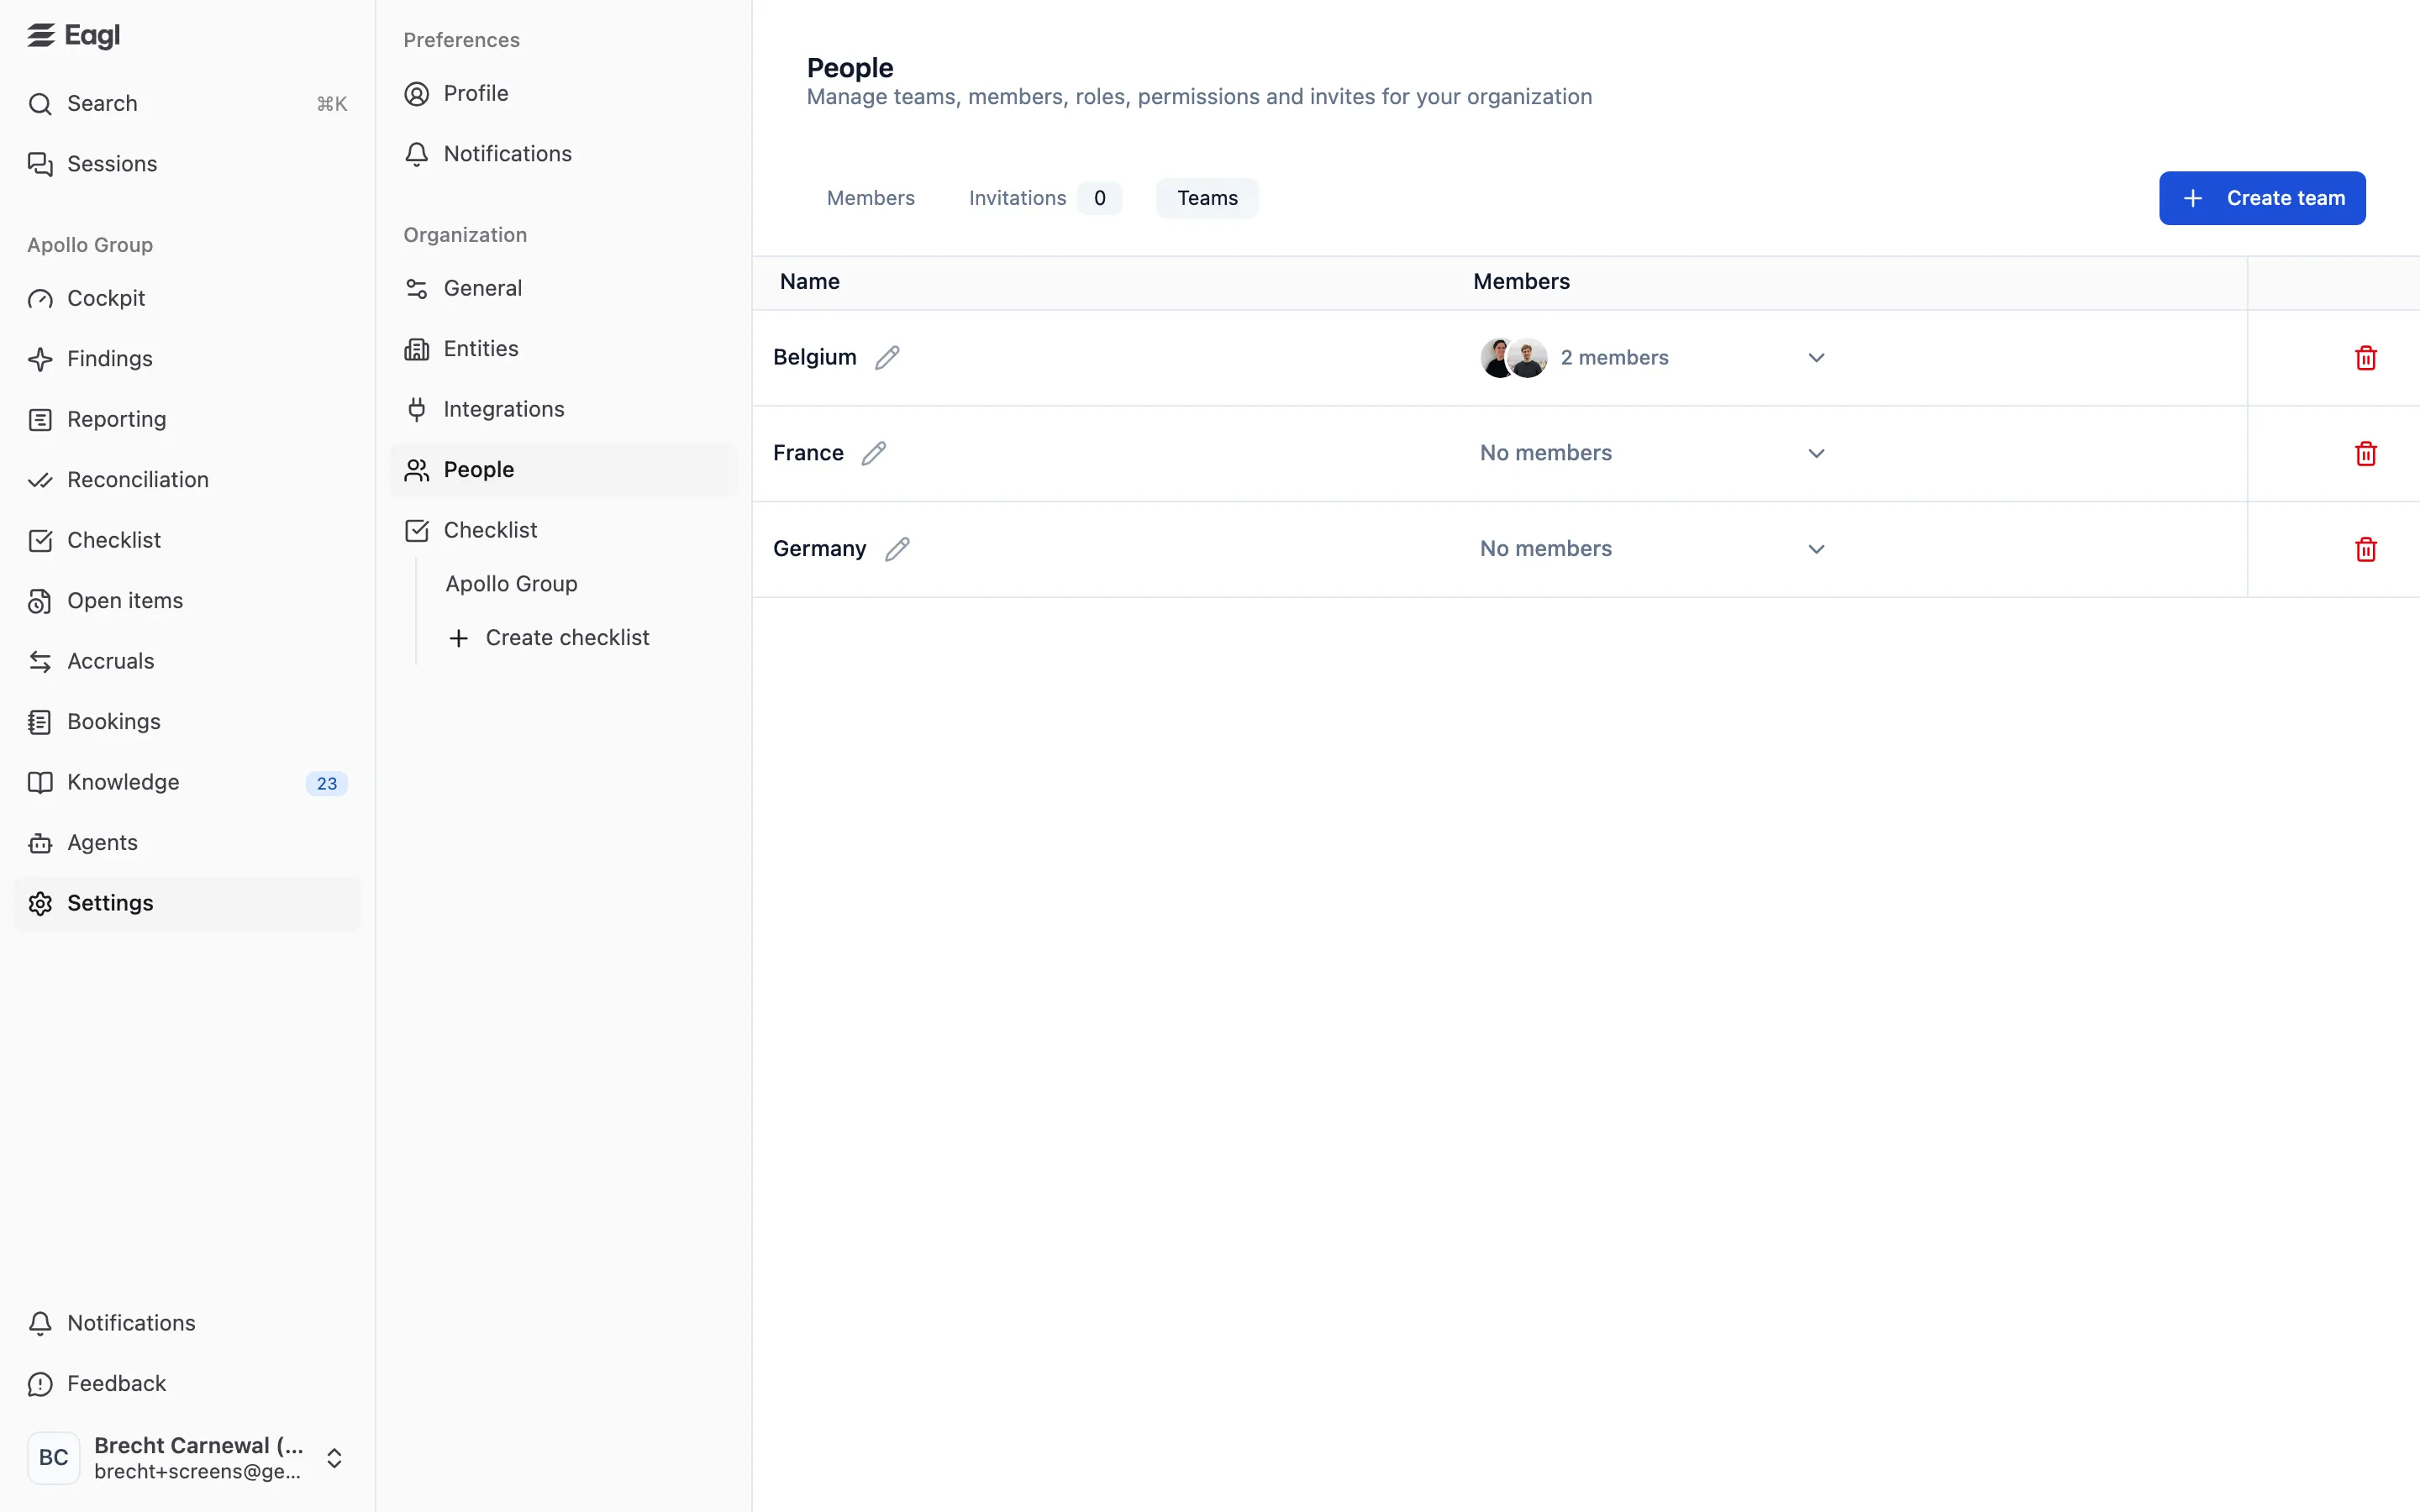
- Create a team: on the Teams tab, click Create team, enter a Team Name (for example Accounting or FP&A), pick the Members, and click Create.
- Rename a team: click the pencil next to its name, edit, and save.
- Change who’s on a team: on the Teams tab, open the team’s Members picker. Or, on the Members tab, open a person’s Teams picker. Changes save when you close the picker.
- Delete a team: click the trash icon on its row. Eagl first checks the impact and lists the Affected checklists and Affected members. People who have checklist access another way (directly, through another team, or as an owner) keep it. Click Delete team to confirm.
Audit users can’t be added to teams.
The Audit role
Section titled “The Audit role”Audit users don’t get the regular Eagl app. When they sign in, they see a single page to search documents (Search documents…) across the entities they have access to, with filters and a detail panel for each document, including its journal entries. There’s no sidebar, settings, or other pages. Their user menu only has a dark-mode switch and Sign out.
Use the Audit role for auditors who need to look up source documents without seeing the rest of your close. Restrict their entity access to the entities under audit.